Let's recap, shall we?
1) shared bath floor


3) master bath shower

4) fire place mantle (count it!)

5) kitchen backsplash

and finally 6) the half bath floor. I have to say, tiling is definitely one of those skills that gets better with practice. This last job is by far the neatest and most professional-looking, and it was pretty tricky too. I think the fact that I had to take my time because of my bigger belly actually helped with the overall quality of the outcome. I guess usually I rush through things too much. tsk tsk.
This bathroom is 6' x 7' and it used to be a full bath --our only usable bathroom for almost the whole first year of living in this house. Pretty early on I cut the power to it, and we showered by a small lamp for a good...6 months?


 |
| This pull chain light used to be the (only) working light for this space |


It did come with one a clawfoot tub in pretty good condition (and a janky shower curtain rod thingy made up of metal, wooden rod, and duct tape) which we moved to the master bathroom.


It was a pass through bathroom (2 doors on opposite walls; one leading to the living room and the other leading to our old bedroom). Carpenter Dan plugged up the door leading to the living room last winter when we had the fireplace put in.


It took me a while mudding and taping up the seams, but after that was done, Dan had to re-create the moulding that runs at the half wall height to match the rest of the room.
 |
| the existing moulding |
 |
| Carpenter Dan's re-creation. As usual, the new stuff looks way better and makes me wonder why I didn't just have him replace all of it. |


 |
| raises the glam factor, doesn't it. |

 |
| Dan dropped the special square drill bit that came with the hardibacker screws into that tiny slit, and our project was temporarily put on hold until he was able to borrow the required bit from our neighbors. But seriously, how does one do that?! |

 |
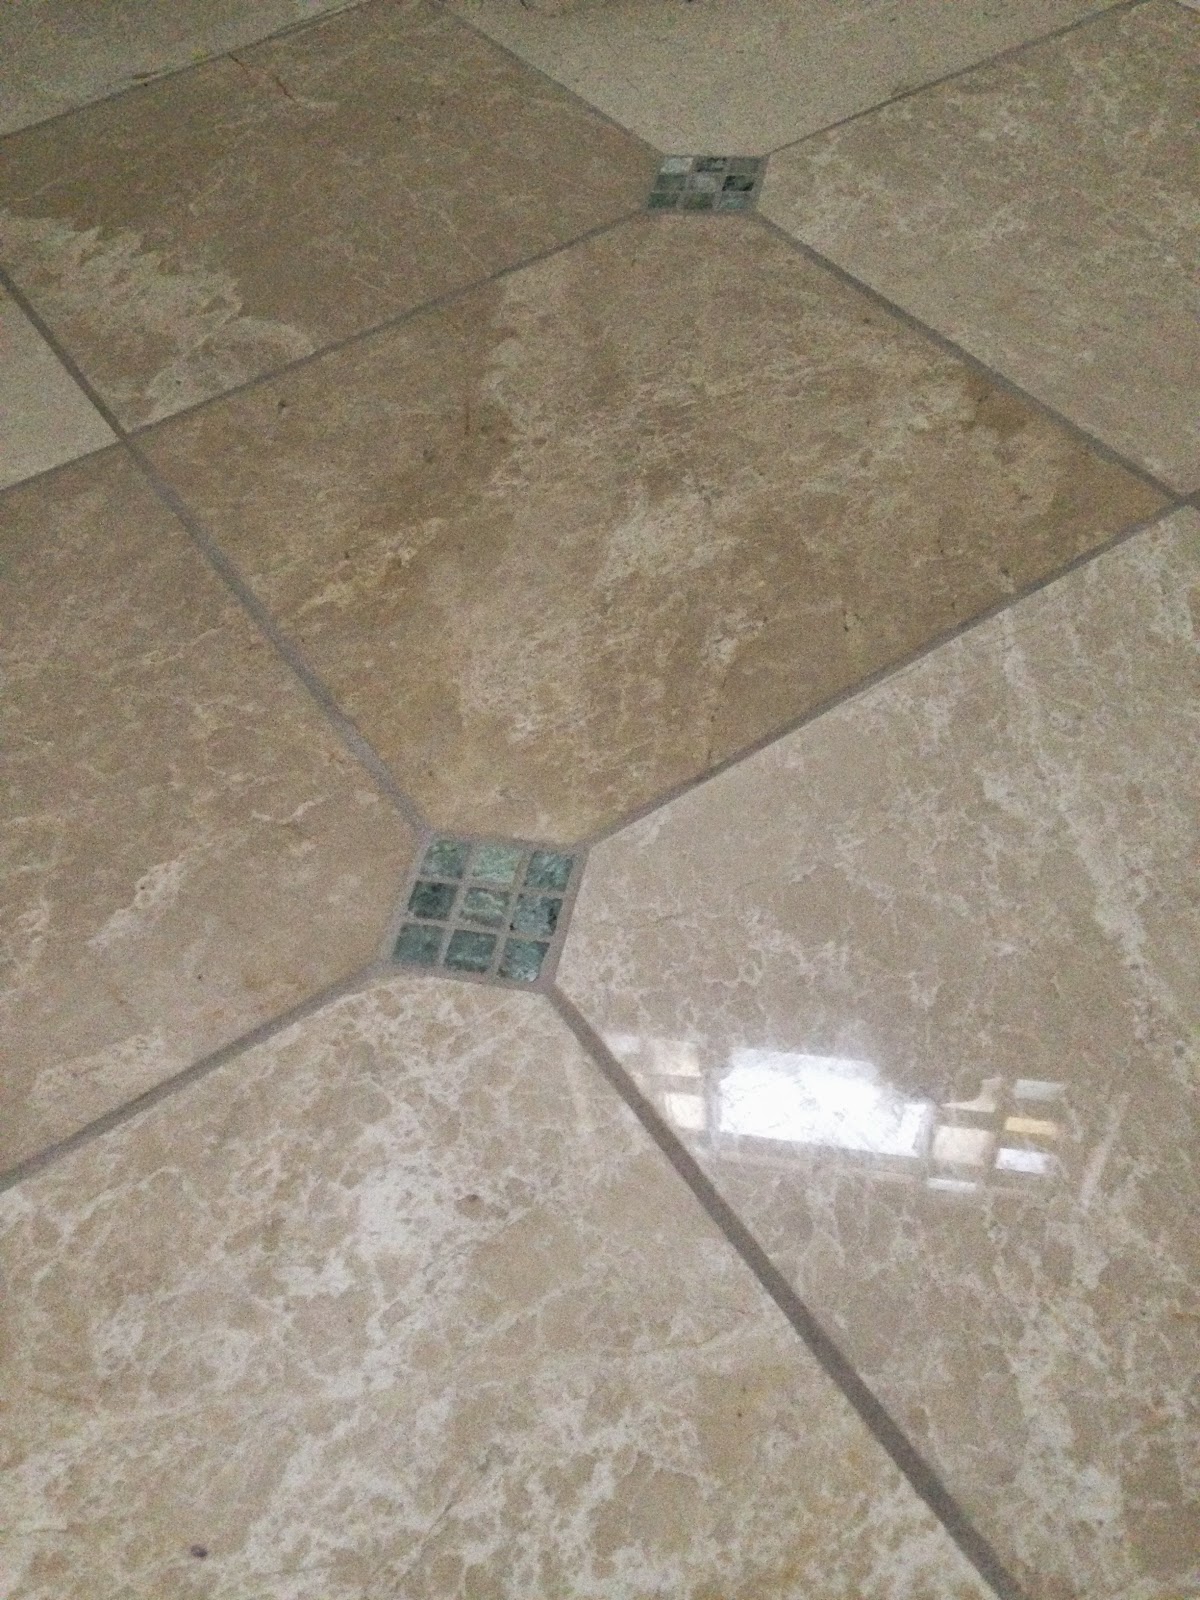
| See how I laid it out so the toilet hole ends up at the corner of four tiles? Much easier to cut out. |
 |
| so dusty and pregnant |

It took a few days longer than I'd expected, because I could really only work for 4-5 hours a day before my back started heavily protesting - I blame it on the loose ligaments or something. But it got done, and then I grouted and sealed caulked the edges. Now I just have to make some decisions on toilets and faucets and countertops, and then it's install time!


How are the house projects going with the baby on the way?!
ReplyDeleteWhen can your followers expect the much-anticipated grand finale post? :)
ReplyDelete