is actually a walk-in. Not a nice one though.
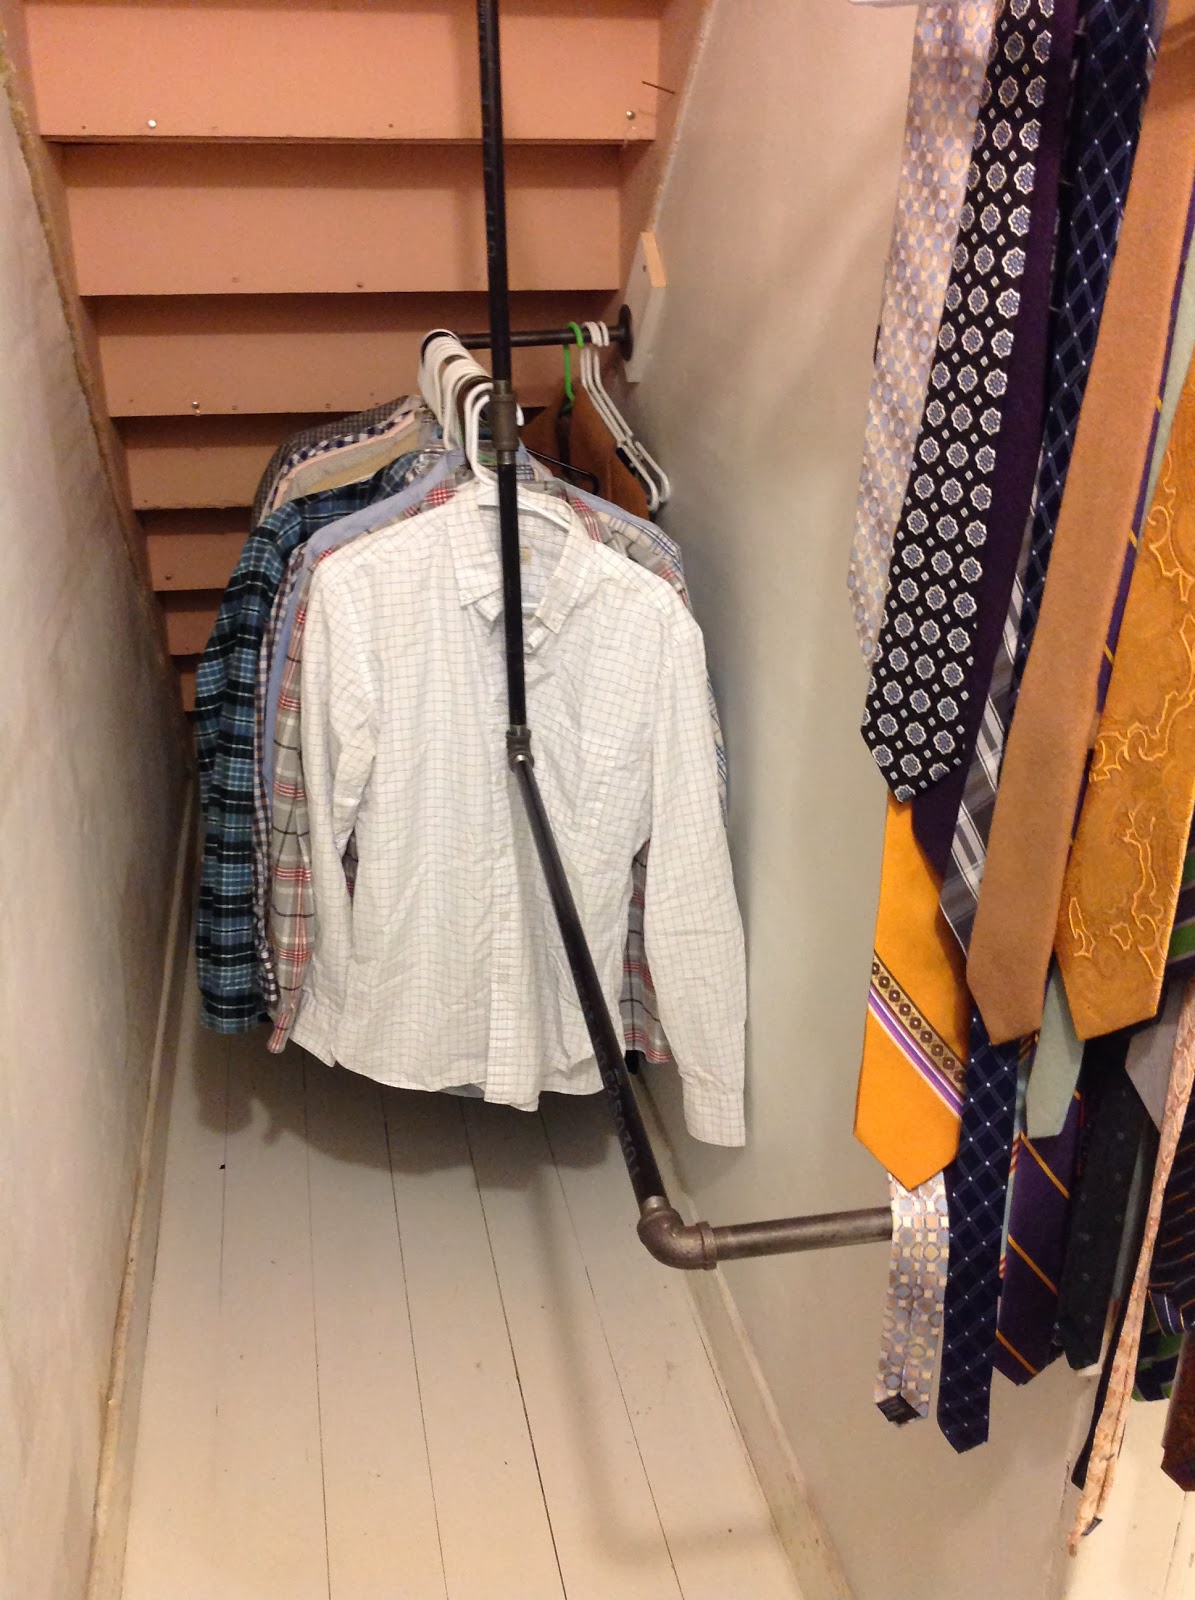
Just like every other room in the house, its walls were covered in 4 layers of wallpaper. There is only one 30" rod for hanging clothes. But there is a cute little built in with drawers and shelves.
 |
| just the one hanging rod |
Instead of gutting it and drywalling over the lath, I decided to take the time to strip the wallpaper and patch the walls; this decision was mostly fueled by the fact that there's not even a door to separate the closet from the master bedroom. Where we sleep. I just don't think I can deal with a really really really dusty sleeping area, which is unavoidable when you demo plaster. Also, the plaster was in surprisingly good shape.
I'd already stripped all the wallpaper in the foyer and the kitchen, so I was pretty sure I knew what I was getting into. I borrowed my mom's wallpaper steamer and commenced stripping. For some reason though, the wallpaper in the closet DID. NOT. WANT. TO. COME. OFF. For reference: the whole foyer took me about two days to strip; I think the master bedroom closet took me 7 days, and it's about 1/3 the size of the foyer. I surmise the reason for the difficulty is that the topmost layer of wallpaper was contact paper-like so the steam had trouble penetrating it, and the the 3rd layer in was painted wallpaper, and the paint acts like a barrier, again making it hard for the steam to seep through.
 |
| 1 and 2 = contact paper-ish. 3 = painted. |
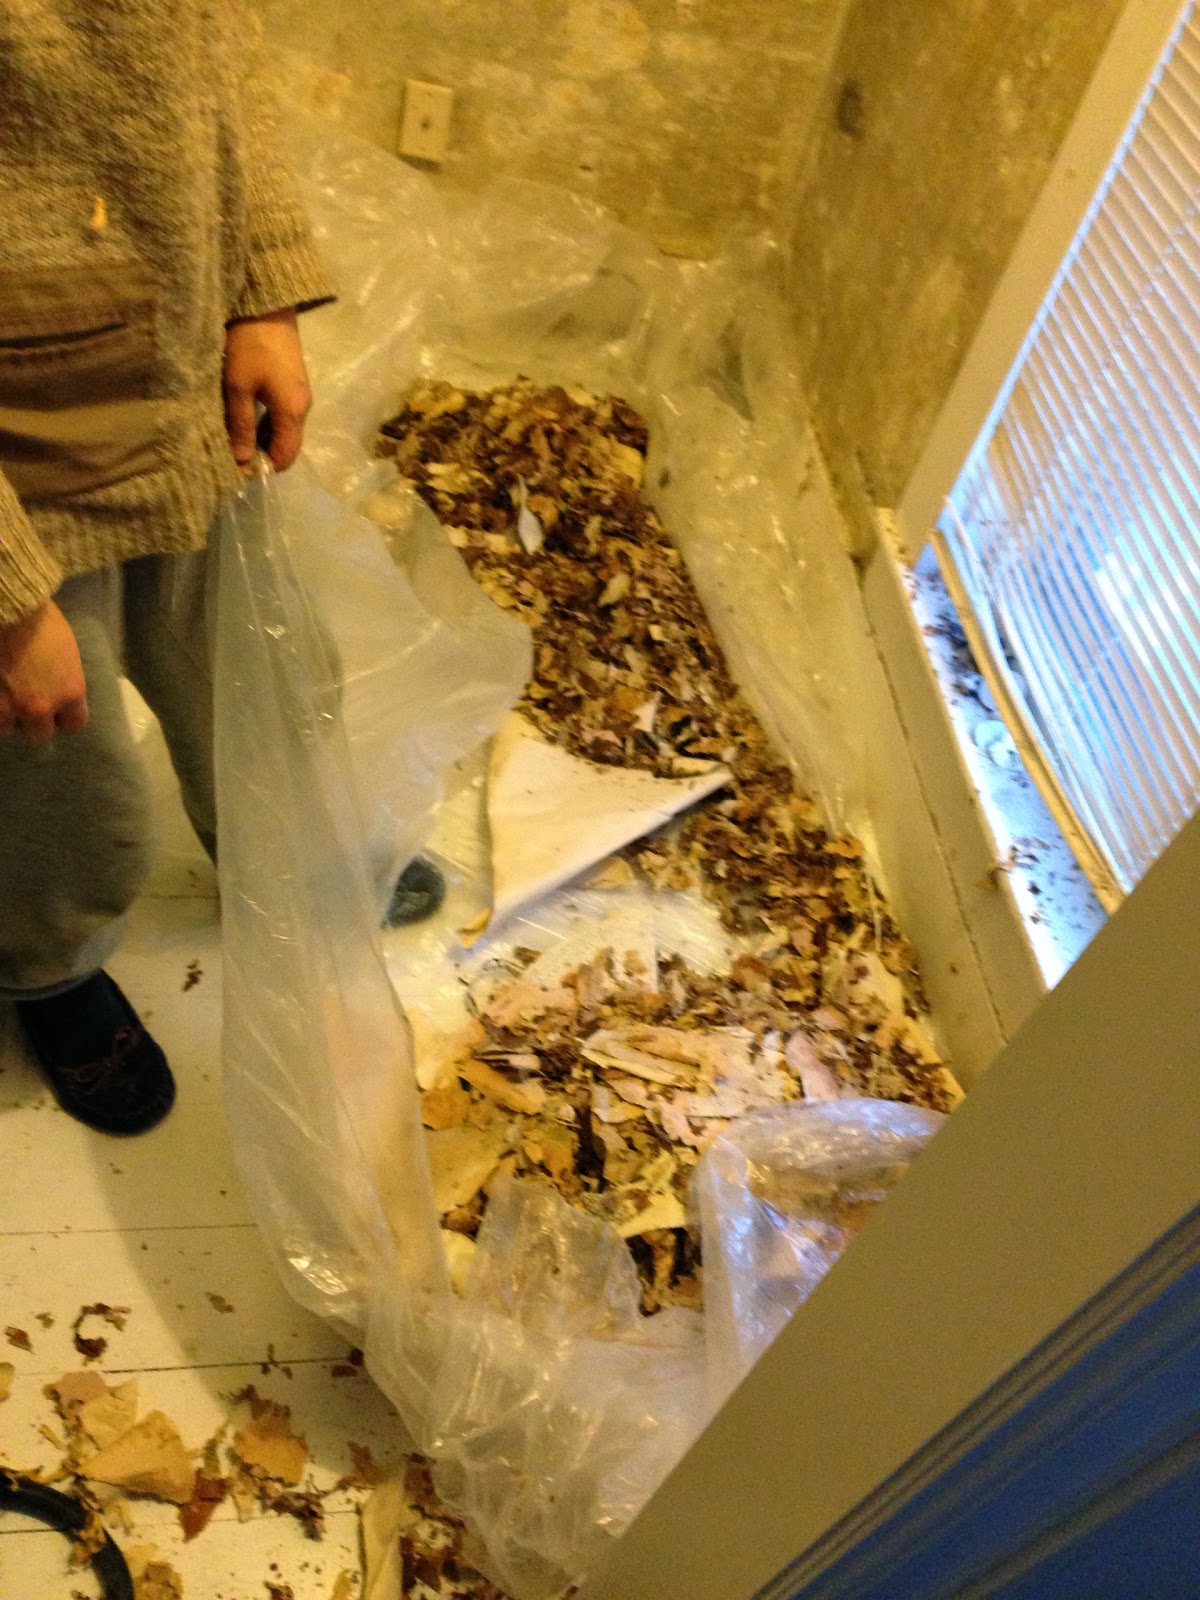 |
| SO MUCH PAPER on those walls |
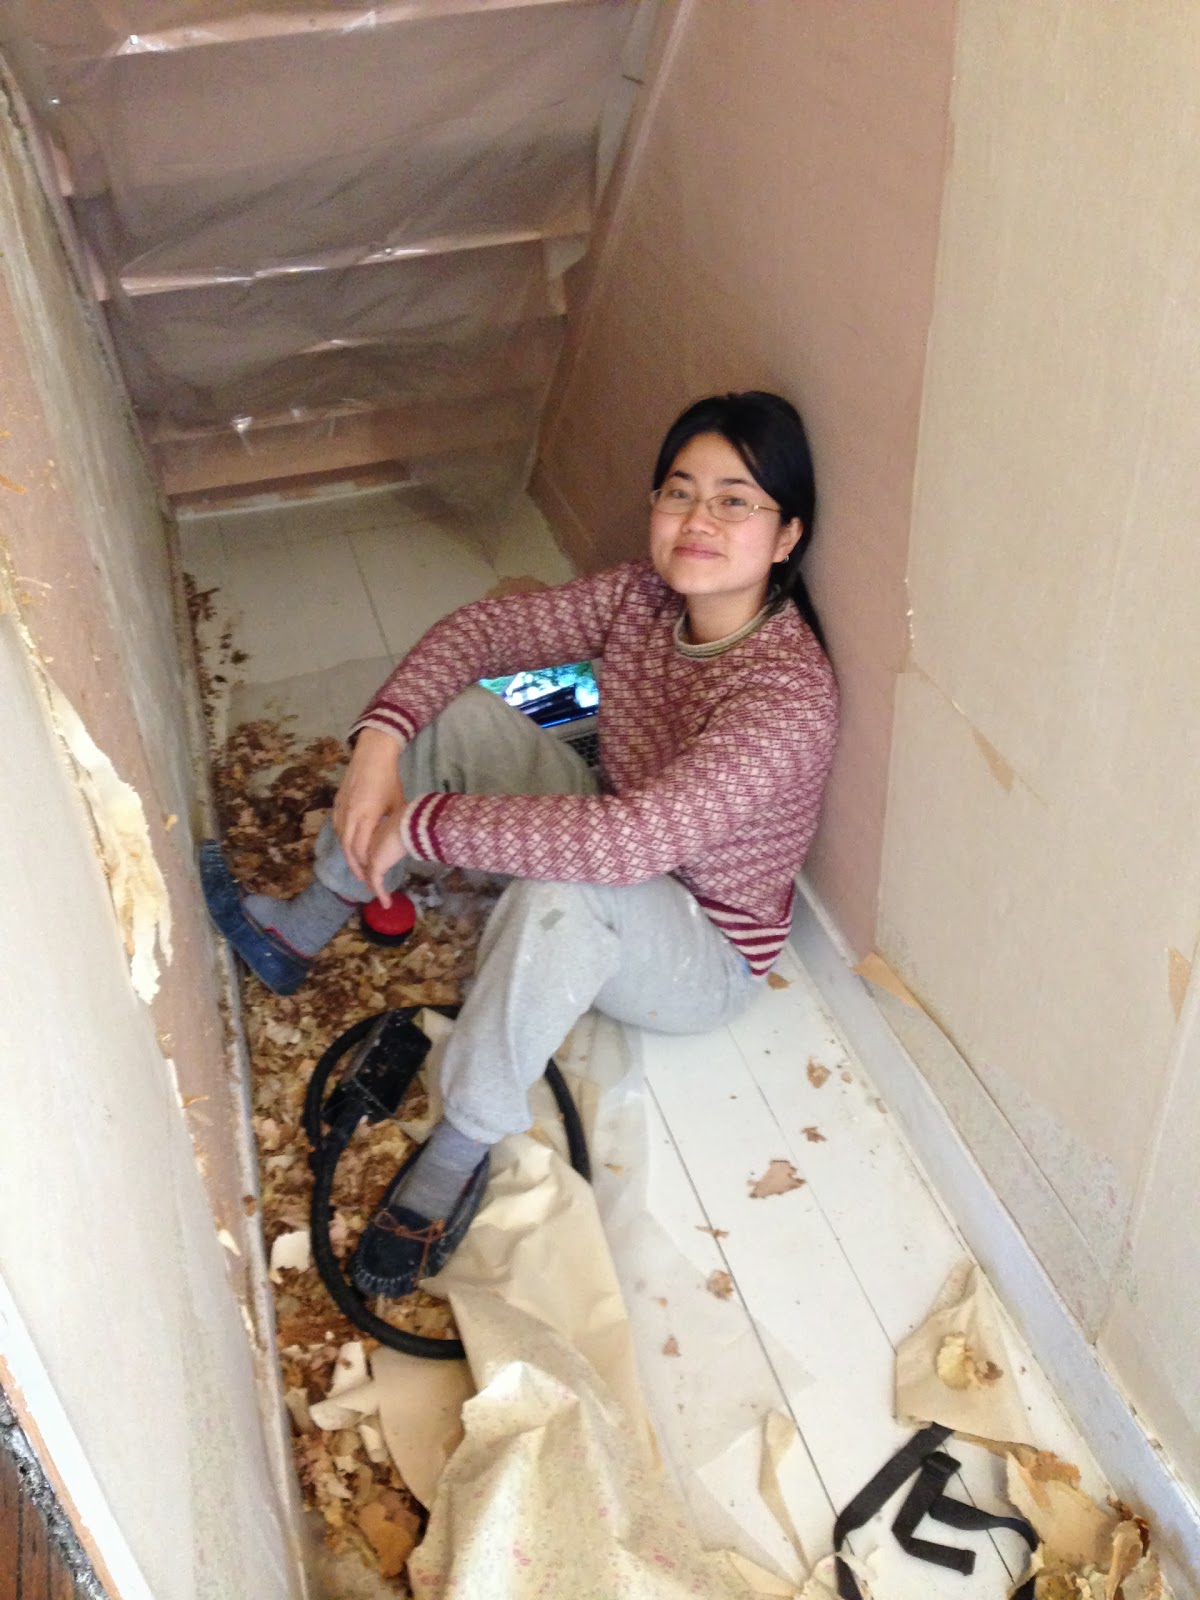 |
| sitting in a mess |
 |
| ready for paint |
But I persevered, and stripped and stripped and stripped, then patched some holes, skimcoated, and caulked the edges. I primed and painted the walls, and then it was time to build a new system of rods for hanging, because 30" just ain't enough. If you've
ever searched the web for diy storage solutions of any kind - especially
shelving - I'm sure you've come across the units built of plumbing pipe. They're all the rage and can be found EVERYWHERE within the diy blogosphere. Ahem. Anyway, they're ubiquitous because they're pretty affordable, easy to put together, and very sturdy.
In order to maximize the hanging capacity in the closet, I devised the rod layout shown below, so we can take advantage of the area under the stairs to the third floor. I made some measurements and drew out my plan:
Just kidding - it actually looked like this
I bought all the necessary parts, and a Home Depot associate cut and threaded the pipe to size. FYI, one 10' length of 1/2" black pipe is $10 and change and I needed a little more than 10'. I washed all the parts with soap and warm water.
Then put it all together piece by piece.
 |
| Dan's shirts go in the back |
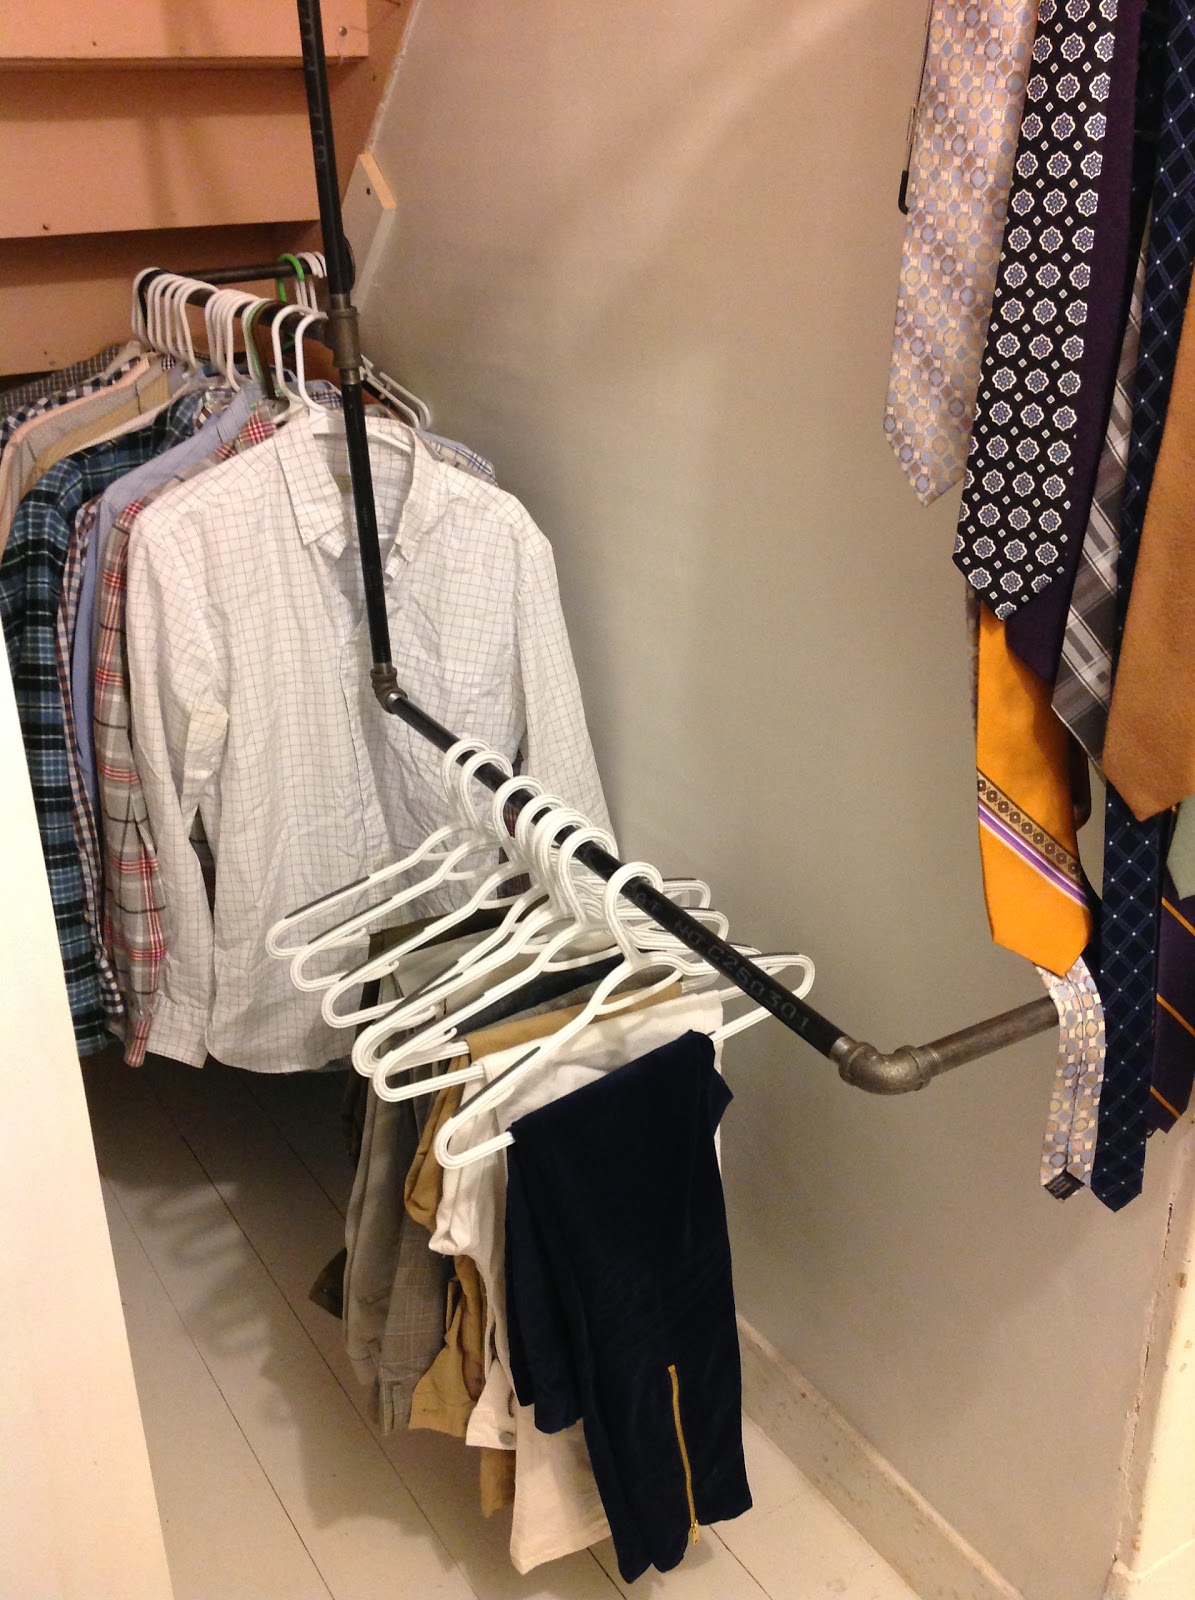 |
| pants on the bottom |
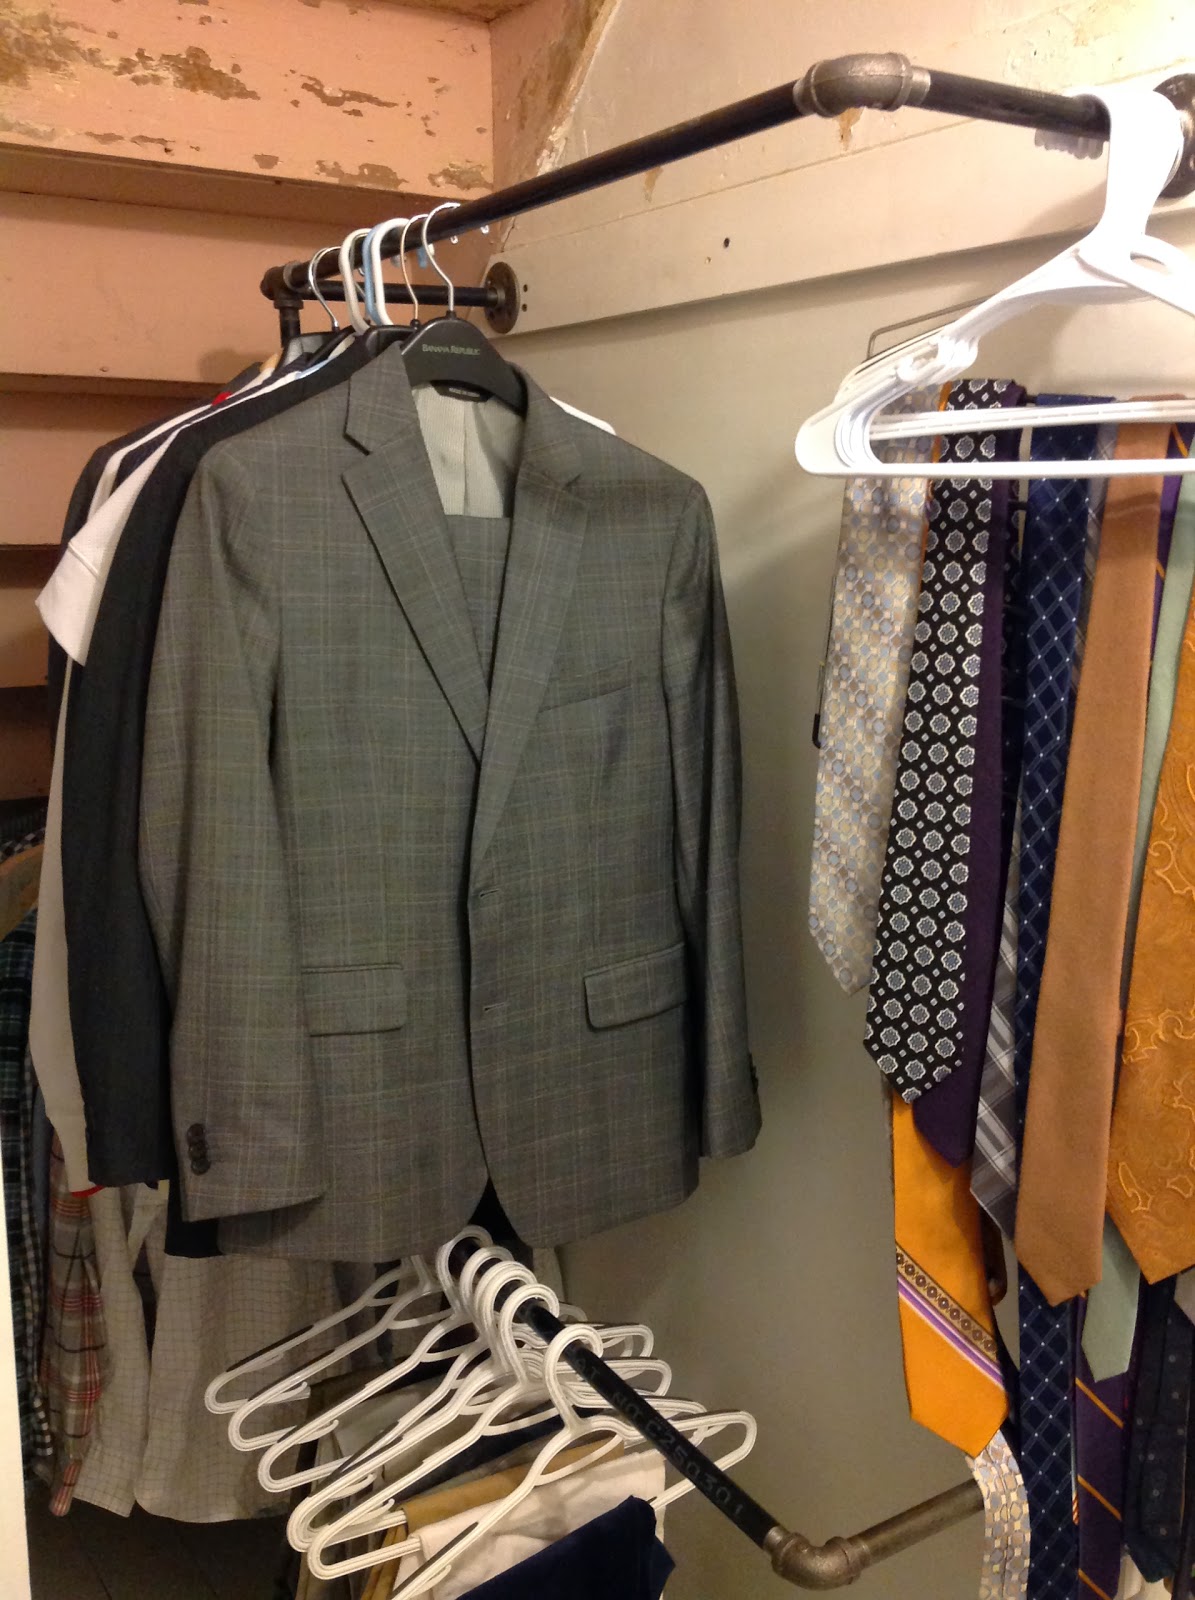 |
| suit coats up top |
 |
| etc. |
And some decoration, just 'cause.
It needs a little more work, but at least we can put our clothes away now, and they're not just piling up in a mountain on our dresser.


nice work, yoom! I was thinking to make some "industrial shelves" out of pipe and wood. Good idea?
ReplyDeleteyep, I recommend. Looks cool, pretty easy to put together, and sturdy. Can't go wrong!
Delete