OK, so, since drywalling, much has been accomplished.
First, I had to mud and tape and mud and mud and sand the drywall edges. It's time consuming, and most people experienced in home improvement claim mudding and taping to be their most hated process. But yada yada, I did it and it wasn't perfect but oh well. I don't have any pictures but it's not terribly exciting anyway, so no big loss there.
[Dan's comment: "mud" is basically this goopy plaster compound that they sell in buckets. You scrape it into gaps and across edges and then sand it down flat with the wall once it is dry.]
After mudding and taping, however, we moved on to painting, and that, my friends, is
very exciting. It's the first time your room really starts to look like it's coming back together, and the first time you see a hint of the finished product. We took one day to do the blue top layer (2 coats), using Behr's ultra paint in Bermudan blue (primer + paint in one, eggshell finish). Dan was a little concerned that it was too "green" meaning too teal/turquoise, but once it dried it was a beauty~. The color also makes our tin ceilings really pop!
 |
| Dan likes the color once he got used to it |
 |
| ceilings look so much nicer now! |
I'd also randomly chosen a white out of the 20 or so options of white they had at home depot. They all looked the same to me, how was I supposed to know which one was best or that there even were differences between the whites?? Turns out there is a difference: the white I chose was "clear view" or something - it was so brilliant and white it was practically blue. It also made our ceilings in comparison look dirty and grimy. This was quite disheartening after we'd done a chest bump over how nice our ceilings looked next to the blue:
 |
| ceilings look like shit bc the wall is too white, right? |
So we took another trip to the store, this time LaValley's, and got Pittsburgh Paint's "mother of pearl" in eggshell finish. The color is much better (you'll see it later) so problem solved!
After painting, all we had left was putting the trim back up. Sounds short and easy, right? I suppose, we could've just slapped another coat of paint over the existing trim paint...but since there's likely to be lead paint on those old things, we figured it'd be best to do the whole she-bang: strip the paint, sand the wood, re-paint.
[Dan: I think most people just buy new trim wood because it takes so long to salvage the old trim but we wanted to keep some of the old stuff and the old trim had nice detail. It turned out to be a crap ton of work for the designated lead paint handler of the relationship.]
 |
| stripping old paint. Paint stripper is very very very toxic |
 |
| scraping it off |
Unfortunately, we don't have pictures of the sanding process. Our neighbor, John, lent us his orbital sander and shop-vac(uum) which attaches to the sander to suck up the dust as we go. Dan took care of this whole process, because all the old men talking about lead paint being harmful especially to pregnant women scared us pretty good. Let me assure you, I'm not preggars, but you know...just in case.
[Dan: When I got super tired while working on all the trim, Ayumi would walk by and pat her belly as if she was carrying. Not fair, big faker. Faker, right? RIGHT?!?!?! ]
After that I painted the trim and put it up. We had another hiccup because we realized after I put up the trim we re-painted that we missed a few pieces...so back to scraping, sanding, re-painting. I know, it sounds awful tedious reading this....believe you me, it was VERY tedious doing it all.
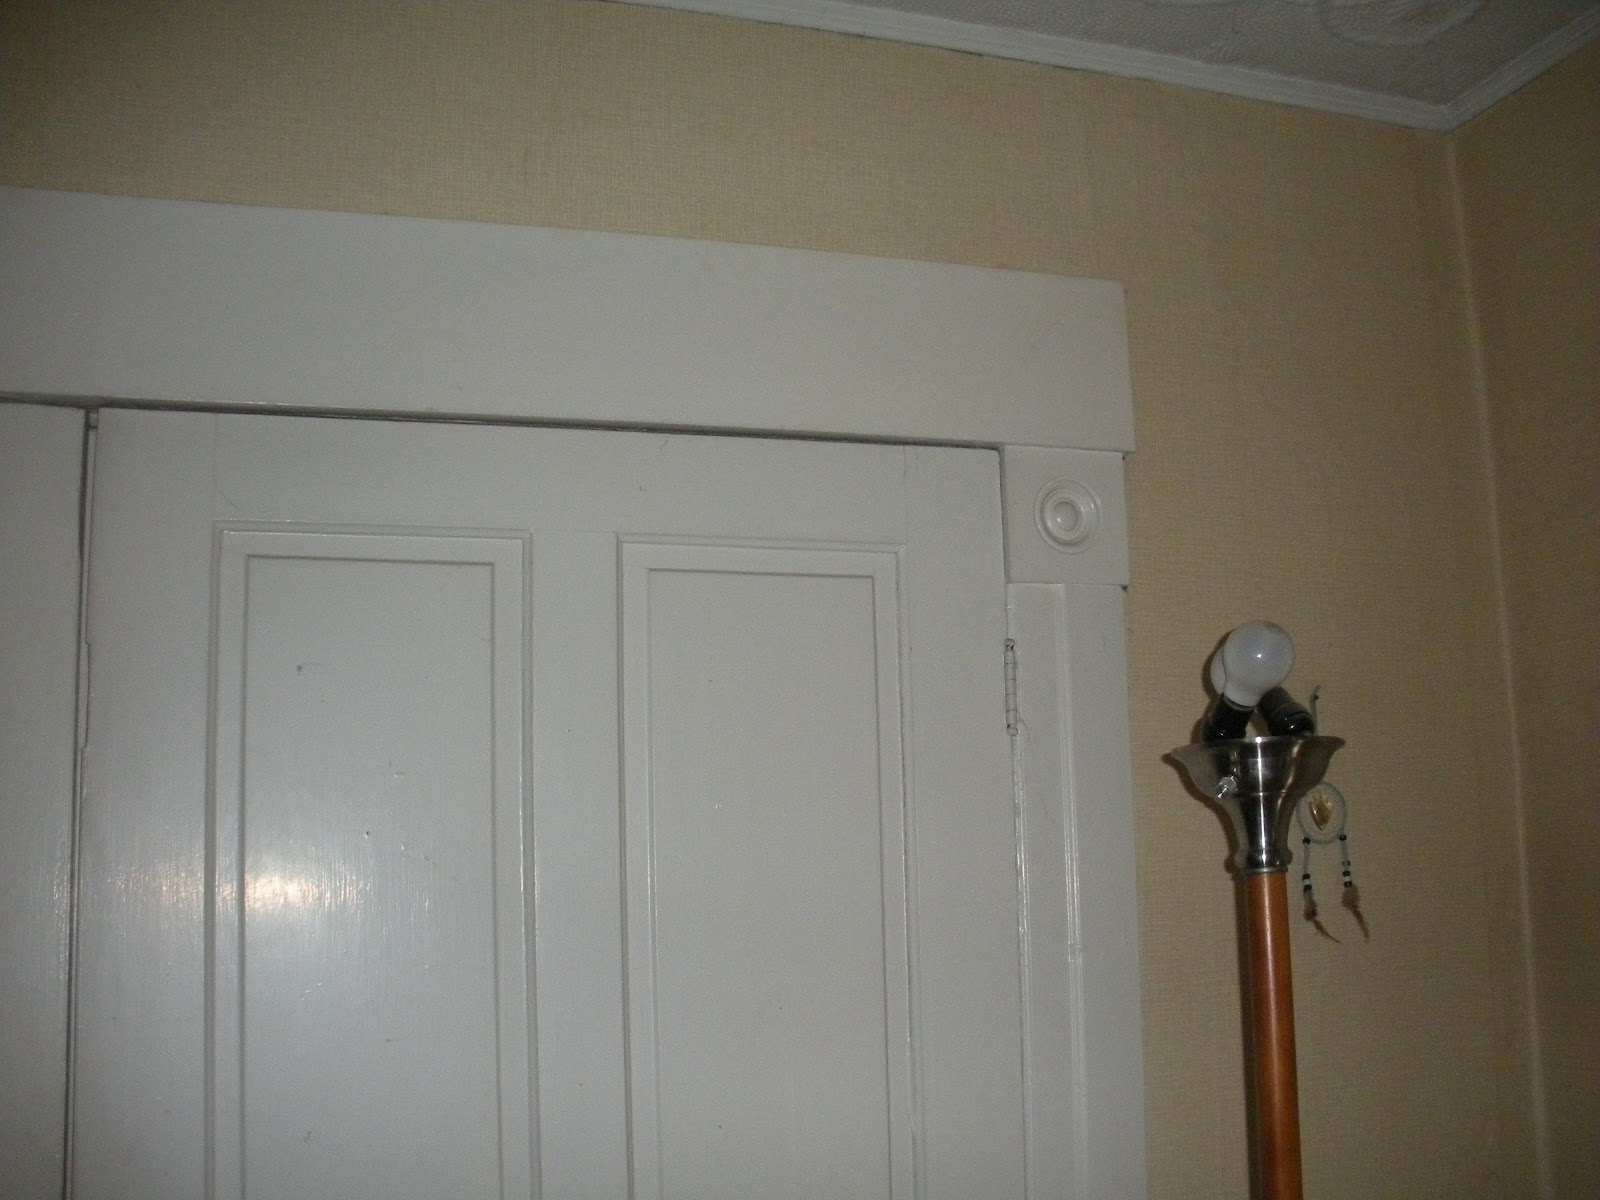
 |
| window trim! pretty wall sconce! |
When the window trim went up, our room became 10x better. It's astonishing how much of a difference something small like window trim can make. Our window and door trim is unusually wide, which is a characteristic of older homes. One benefit of re-using old trim despite the tedium: charm.
After the window trim, all we had left were the ceiling trim and chair rail. Chair rail and ceiling trim took some time too (of course): you have to measure it several times to be certain, cut it hopefully with a miter saw (thank you, Papa), paint it, hammer it up. Each of those steps takes a day. But what a difference a day makes: yesterday our room was just 10x better than before; today it looks 100x better, I kid you not.
 |
| Trim nailing tool, helps you nail in without denting the surrounding wood |
 |
| Putting up the doortrim |
 |
| Cats love the new room |
 |
| Dan gave the floors a quick mop. I swear I do some work around here. |
 |
| The money shot. |
When we started, it looked like this (below) so we are pretty happy with the result!
 |
| Crumbling plaster under the window. The whole room had pretty crumbly walls. |
Compare that last picture to:
 |
| 100x better |
Time to watch some Olympics.


Well done!!
ReplyDeleteWoohoo!!! I am impressed. Ready for visitors? :)
ReplyDeletepretty much. if you come this weekend, you'll be in time for the demo of the dining room. super fun!!
ReplyDeletethe color you chose for the walls is the absolute prettiest! can't wait to see what else you do with the rest of the house :)
ReplyDeleteReally beautiful! The color is awesome. That time between the slapping on of the paint and waiting for it to dry can be a little nerve wracking! Who woulda thunk the chair rail could make such a nice touch there? I'm so glad you are keeping the old ceilings in, I really like them a lot.
ReplyDeletehahaha i like that you chest-bumped over the paint color. i also like the kitties just chillin' on the table like they do
ReplyDeleteLooks amazing!
ReplyDeleteAyumi - milk that "possibly" excuse as long as you can (you have several projects left!) That was funny.
ReplyDeleteAnd I'm not a "blue" person, but it looks beautiful! Since you are from Boston, I don't need to caution you on choosing light/bright colors for long, dark days (you do have those fantastic large windows!) Great job on all the work you guys put into it!!